

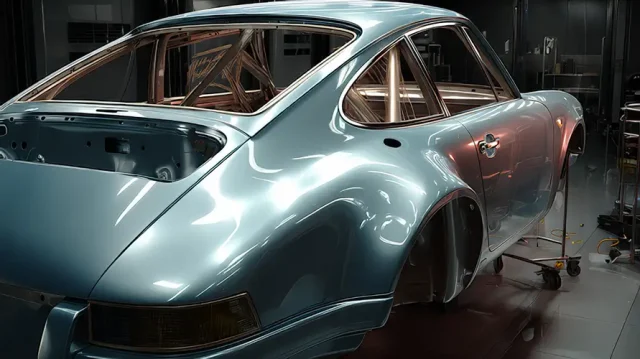
Building a car is one of the most rewarding projects an enthusiast can take on. It can mean assembling a kit car, restoring a classic, rebuilding a damaged project car, or creating a custom restomod from an existing chassis. No matter the path, a successful build requires planning, budgeting, mechanical knowledge, bodywork, safety checks, and patience.
If you are wondering how to build a car, the first thing to understand is that the process is more than bolting parts together. A car is a complete system. The chassis, drivetrain, suspension, brakes, electrical wiring, body panels, paint, interior, and safety equipment all need to work together. The better the planning is at the beginning, the smoother the project will be later.
Step 1: Decide What Type of Car Build You Want
Before buying parts, decide what kind of build you want. A kit car uses a manufacturer-provided kit that may include a frame, body panels, and instructions. Some kits require a donor vehicle for the drivetrain, suspension, brakes, or interior parts. This can be a good option for builders who want a more structured project.
A restoration build starts with an existing vehicle and focuses on bringing it back to roadworthy condition. This may involve repairing rust, rebuilding mechanical systems, replacing worn parts, restoring the body, and refinishing the paint. A restoration can be simple or extremely detailed depending on the condition of the car.
A restomod combines classic style with modern performance. It may include a newer engine, upgraded brakes, modern suspension, custom wiring, improved safety features, and updated interior components. Restomods can be exciting, but they require careful planning because old and new systems must work together.
A donor-car build uses parts from one vehicle to build or upgrade another. This can save money, but compatibility matters. Engines, transmissions, brakes, suspension, electronics, and mounts all need to be researched before the build begins.
Step 2: Set a Realistic Budget
Car builds often cost more than expected. Major cost categories include the donor car or kit, engine, transmission, suspension, brakes, wheels, tires, body panels, paint, interior, wiring, tools, fluids, fasteners, registration fees, and professional labor when needed.
Hidden problems can change the budget quickly. Rust, missing parts, damaged panels, electrical problems, frame issues, and old collision repairs may not be obvious until the car is disassembled. Paint and body preparation can also become expensive because the final finish depends heavily on the condition of the surface underneath.
A contingency budget is important. Even a well-planned build can uncover unexpected issues, especially when working with older or damaged vehicles.
Step 3: Understand Legal and Registration Requirements
Before building a car, research the legal requirements in your state. Kit cars, salvage vehicles, rebuilt vehicles, and custom cars may have different title, registration, inspection, emissions, and insurance requirements.
You may need a VIN assignment, safety inspection, emissions equipment, receipts, donor vehicle paperwork, manufacturer documents, or a bill of sale. Requirements vary by location, so it is better to understand them before spending money on parts.
Keep all documentation organized. Save receipts, titles, manufacturer certificates, build photos, inspection paperwork, and records of major parts used in the build. These documents may be needed for registration or insurance.
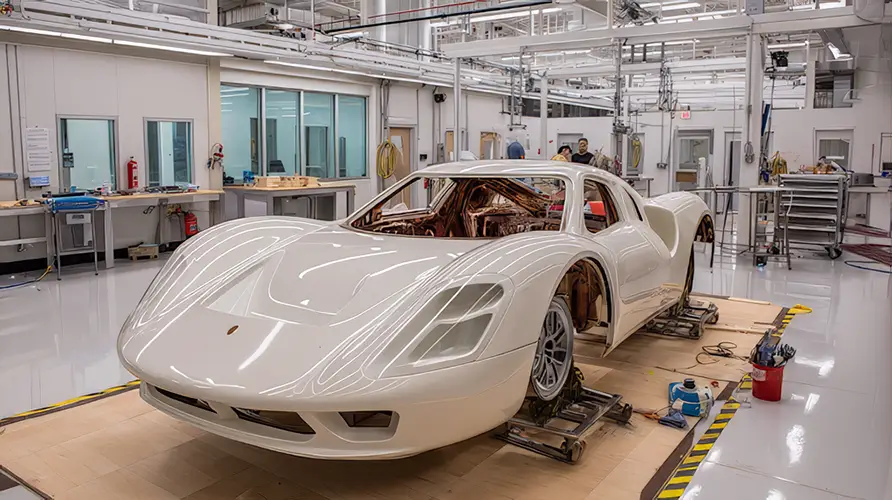
Step 4: Choose the Right Base, Kit, or Donor Vehicle
The starting point matters. If you are buying a project car, inspect the frame, body, title status, rust, drivetrain condition, missing parts, and previous modifications. A cheap car with serious rust or title issues may become more expensive than a cleaner car that costs more upfront.
Match the project to your skill level. A beginner-friendly build should be simple, well-documented, and supported by available parts. Advanced builds may involve welding, fabrication, engine swaps, custom wiring, or structural repair.
Parts availability is also important. Common platforms are usually easier to build because replacement parts, forums, guides, and aftermarket support are easier to find. Rare cars may be more unique, but parts can be harder and more expensive to source.
Step 5: Build or Repair the Chassis and Structure
Before installing major components, inspect the chassis and structure. Look for cracks, bends, rust, collision damage, weak mounting points, or signs of previous poor repairs. The structure needs to be straight and safe before the build moves forward.
Rust repair can be one of the most time-consuming parts of building a car. Floor pans, rocker panels, quarter panels, frame rails, trunk floors, and suspension mounting points may need repair or replacement. Rust should not be ignored because it can affect safety, alignment, panel fitment, and long-term durability.
When a project car has dents, rust, damaged panels, or signs of prior collision repair, Relux Collision can help evaluate body condition before the build moves into paint, trim, and final assembly.
Step 6: Install the Engine and Drivetrain
The engine choice shapes the rest of the build. You may rebuild the original engine, install a crate engine, perform an engine swap, or use an electric conversion where appropriate. Each option affects cost, wiring, cooling, fuel delivery, exhaust, mounts, and registration requirements.
The transmission and driveline must also be compatible. This includes the transmission, driveshaft, differential, axles, mounts, clutch or torque converter, shifter, and crossmembers. Small compatibility issues can create major delays if they are not planned early.
Cooling, fuel, and exhaust systems should be designed around the engine. Make sure the radiator, fans, fuel tank, fuel lines, fuel pump, headers, exhaust routing, and emissions equipment are appropriate for the setup.
Step 7: Install Suspension, Steering, and Brakes
Suspension and steering affect how the car feels and handles. Springs, shocks, control arms, bushings, coilovers, sway bars, steering racks, tie rods, and steering columns should be chosen based on the car’s purpose.
A street car should be comfortable, stable, and predictable. A track-focused build may need more aggressive components, but those choices can affect ride quality and maintenance.
Brakes are safety-critical. The master cylinder, brake lines, calipers, rotors, pads, proportioning valve, and parking brake need to be installed correctly and tested carefully. Cutting corners on brakes is never worth it.
Step 8: Plan the Electrical System
Wiring can make or break a car build. Some builders reuse the factory harness, while others install an aftermarket harness or create custom wiring. Plan wiring before the interior, dashboard, carpet, and trim are installed.
The electrical system may include headlights, taillights, turn signals, brake lights, gauges, horn, wipers, charging system, ECU, sensors, audio, fans, fuel pump, and accessories.
Modern electronics can add complexity. Digital dashboards, backup cameras, security systems, engine management, and custom lighting all need reliable wiring and clean routing.
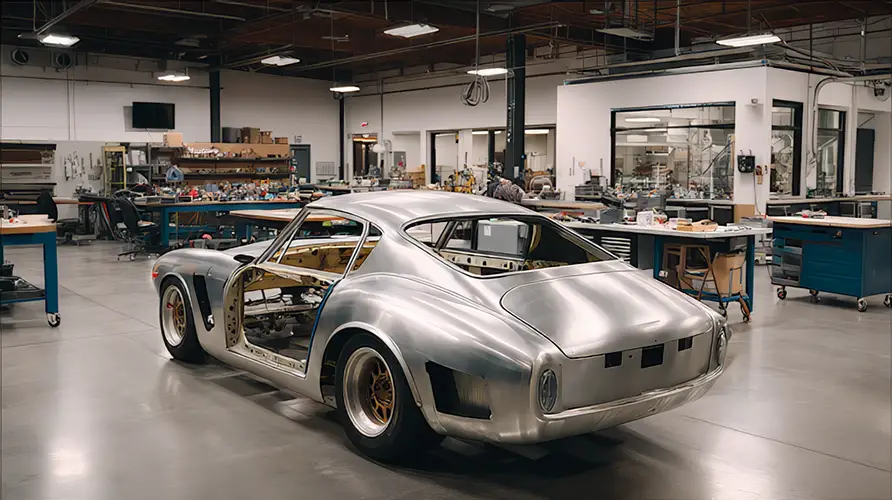
Step 9: Bodywork, Paint Prep, and Refinishing
Bodywork should happen before final paint and trim. Panel alignment is essential. Doors, hood, trunk, fenders, bumpers, and trim should be test-fitted and adjusted before the car is painted. Poor gaps and misaligned panels are much harder to fix after finishing.
Surface preparation is what separates average paint from great paint. Sanding, dent repair, primer, block sanding, rust treatment, sealer, and final prep all affect the finished result. Paint will reveal flaws, not hide them.
Before final paint or refinishing, builders usually work with a professional such as Relux Collision to address paint prep, panel repair, refinishing, and collision-related issues that could affect the finished look of the car.
Step 10: Install the Interior
The interior should support comfort, function, and safety. Seats, brackets, seat belts, pedals, carpet, headliner, dashboard, gauges, switches, door panels, console, and trim should be installed carefully.
Seat mounting is especially important. Seats and belts must be secured properly because they are part of the car’s safety system. If the car will be used for performance driving, additional safety considerations may apply.
Sound deadening, insulation, weatherstripping, HVAC, and audio can make the car more comfortable for regular use.
Step 11: Test, Inspect, and Tune the Car
Before the first start, check fluids, fuel lines, electrical connections, cooling system, brake pressure, battery, fasteners, and safety equipment. Look for loose fittings, leaks, exposed wires, or missing hardware.
During the first start, monitor oil pressure, temperature, charging voltage, fuel leaks, and unusual noises. Do not rush this stage. Small issues should be fixed before road testing.
Road testing should happen gradually. Start with short, controlled drives. Test brakes, steering, suspension behavior, alignment, transmission shifting, engine response, and cooling. Tuning and adjustment are normal parts of the process.
Step 12: Final Inspection, Insurance, and Registration
Before driving regularly, complete any required safety inspection, emissions check, VIN verification, or state registration process. Make sure lights, brakes, tires, windshield, wipers, horn, seat belts, mirrors, and emissions equipment meet local requirements.
Insurance is also important. A custom car, kit car, classic car, or rebuilt vehicle may need specialty coverage. Standard insurance may not reflect the value of a custom build, so agreed value or classic car insurance may be worth exploring.
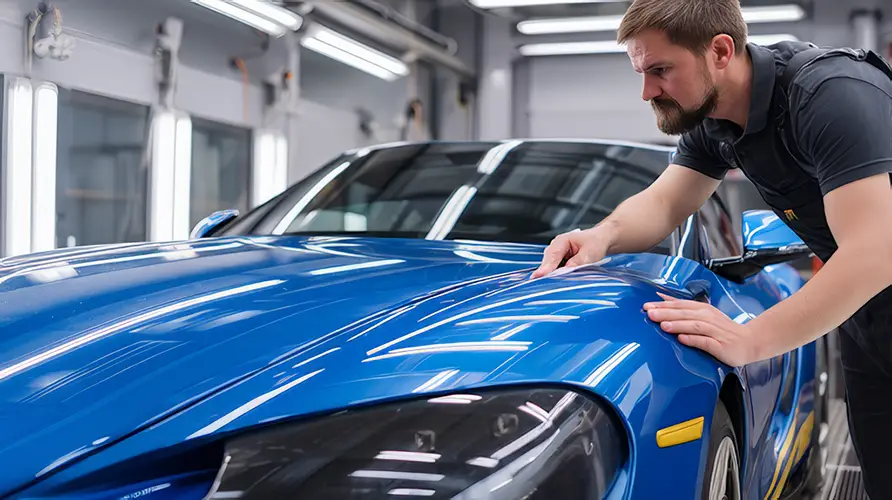
Common Mistakes to Avoid When Building a Car
Common mistakes include starting without a clear plan, underestimating the budget, buying a project with severe rust, ignoring title problems, skipping documentation, choosing incompatible parts, rushing wiring, and painting before body alignment is finished.
Other major mistakes include cutting corners on brakes or steering, taking apart too much without labeling parts, and ignoring registration requirements until the end.
The best builds are organized. Label parts, take photos, keep records, and complete each phase in the right order.
Conclusion
Learning how to build a car starts with choosing the right type of project, setting a realistic budget, researching legal requirements, and working through the build in a smart sequence. A successful car build may include chassis repair, drivetrain installation, suspension upgrades, brake work, wiring, body repair, paint preparation, interior installation, testing, inspection, and registration.
Building a car takes time, patience, and attention to detail. The finished result is only as strong as the planning and workmanship behind it. By choosing a realistic project, documenting the process, investing in safety-critical systems, and getting professional help where quality matters, builders can create a car that looks good, drives well, and is built to last.